Showing posts with label 6919. Show all posts

Monday, November 14, 2011

WCC

WCC = white chicken chili.  A FAVE in our house.  Probably 3 years ago or so, my office had a chili cook-off themed beer cart.  One of my co-workers at the time brought this white chicken chili in, and I have been in love ever since.  It is SO good.  Very cream based and super rich, with so much flavor, but not spicy.  My mouth is actually watering right now thinking about it.  It's one of our go to recipes for a fall pitch-in or dinner.  It doesn't require TOO many ingredients, and after you've made it a few times, it's a pretty quick process.


But, back to the most recent WCC consumption.  Every fall we have our "first fire" where we light the first fire of the year in our fireplace.  We always buy a large, cheap bottle of wine, drink, eat dinner, and hang out by the fire all night.  Fire nights are some of my absolute favorites, because Dave and I just catch up, talk and enjoy being with each other.  Definitely necessary every once in a while and much better than bad TV reruns.


So, because I heart all of you and fires and WCC make me feel warm and fuzzy, I want share the love.  Get excited.  It is seriously SO good.  Hope it brings you warm, cozy evenings and schmoopy, wonderful memories.


WHITE CHICKEN CHILI

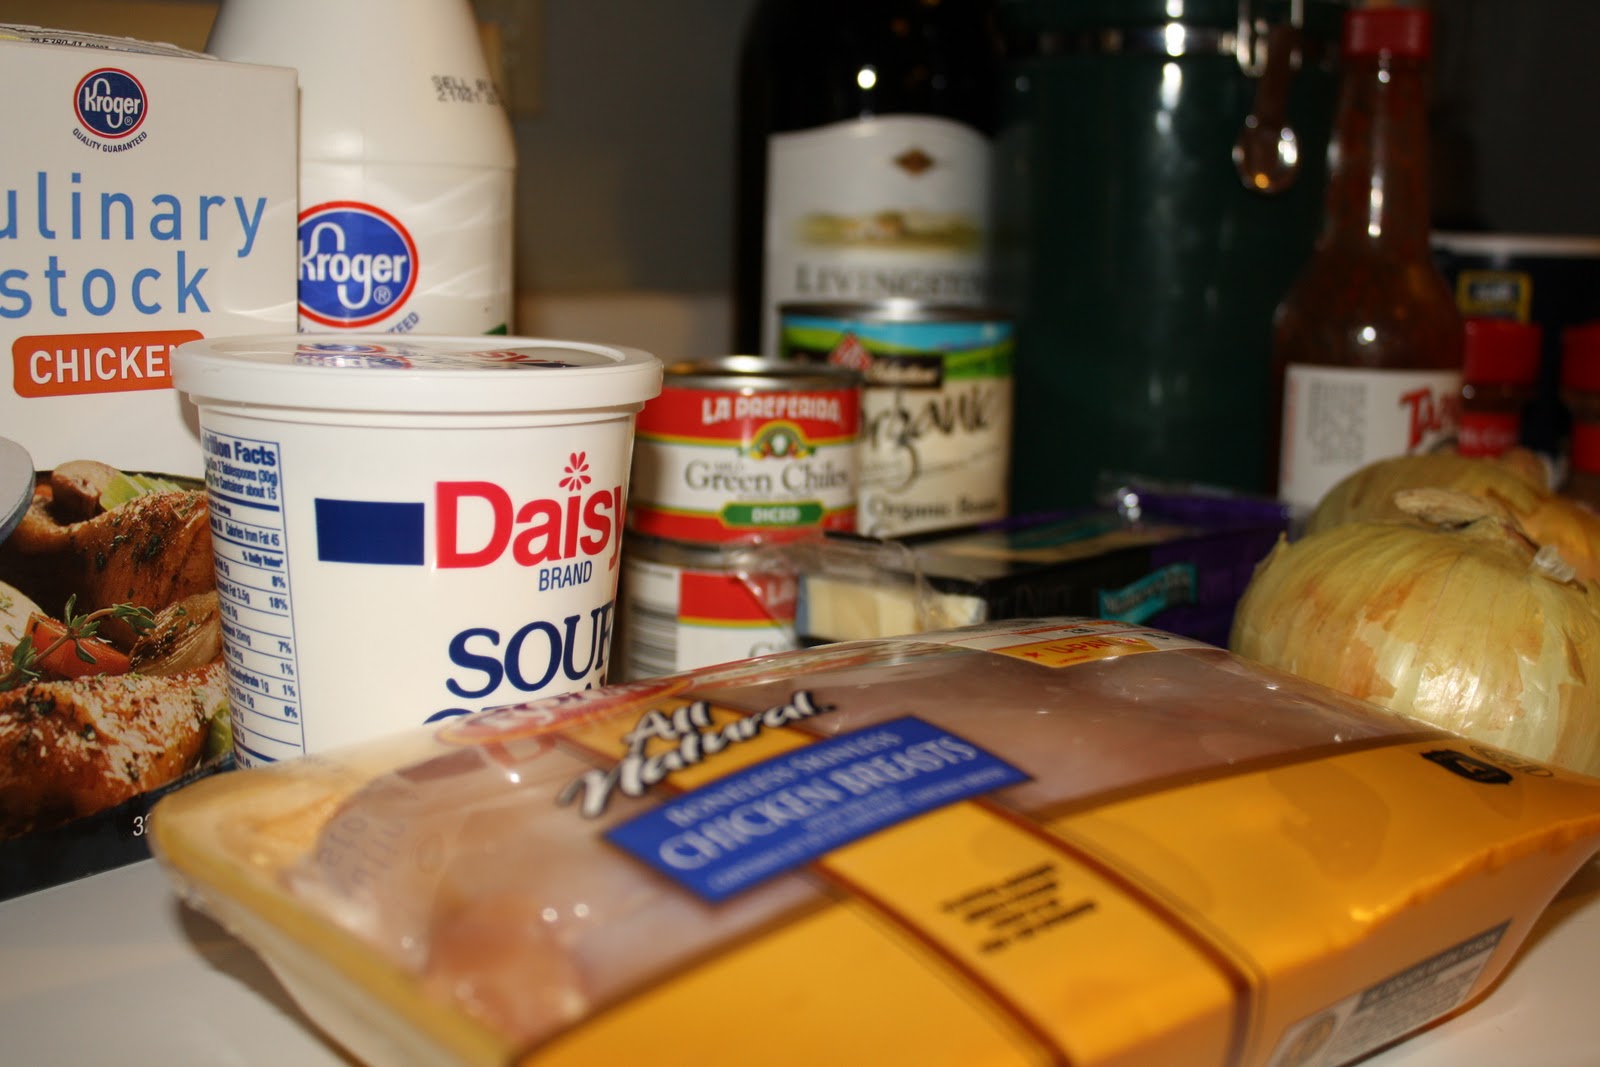
16 oz (1 can) of canned white beans
1 Large Onion, chopped
1 Stick unsalted butter
1/4 c All-purpose flour
3/4 c Chicken broth
2 cups Half and Half
1 tsp Tabasco (or more, if you like spicy)
1 1/2 teaspoons chili powder (or more, if you like spicy)
1 tsp ground cumin (I usually put in more)
1/2 teaspoon salt (I usually put in more)
1/2 teaspoon pepper
Two 4-oz cans whole mild green chilies, drained and chopped
5 Boneless, skinless chicken breasts (about 2 pounds)
Some extra butter and oil to cook them in
1 1/2 c grated Monterey Jack
1/2 c sour cream

INSTRUCTIONS:

1. Heat a large skillet over moderately high heat and put in some butter and oil. Meanwhile, coat your chicken with salt and pepper and some chili powder. Throw them in the skillet. Leave them for five to seven minutes, or until nicely browned, then flip them. Leave it there until browned and then flip them every few minutes until they are done.

2. Remove the chicken from the pan. When the chicken is cool enough to handle, shred it with your fingers (or slice it up if you want to save some time) and set aside.

3. While waiting for chicken to cool, cook the onion in the same pan with 2 Tbs of butter until softened.

4. In a heavy pot, large enough to hold the whole batch, melt remaining 6 Tbs of butter over moderately low heat and whisk in flour. Cook the roux, whisking constantly, for three minutes. 

Stir in the onion and gradually add the broth and half and half, whisking the whole time. Bring mixture to a boil and simmer, stirring occasionally, 5 minutes, or until thickened. (It will be nicely and obviously thick.) 


Stir in Tabasco, chili powder, cumin, salt and pepper. Add beans, chilies, chicken and cheese, and cook over moderately low heat, stirring occasionally for 20 minutes. Add sour cream. May be served immediately.

5. Serve with the usual chili garnishes--cilantro, cheese, jalapenos, tomatoes, etc. Noodles are great too.


Recipe credit goes to the fabulous Jeff Watson.  Just in case you ever read this JNeighb, you know I gave you props.

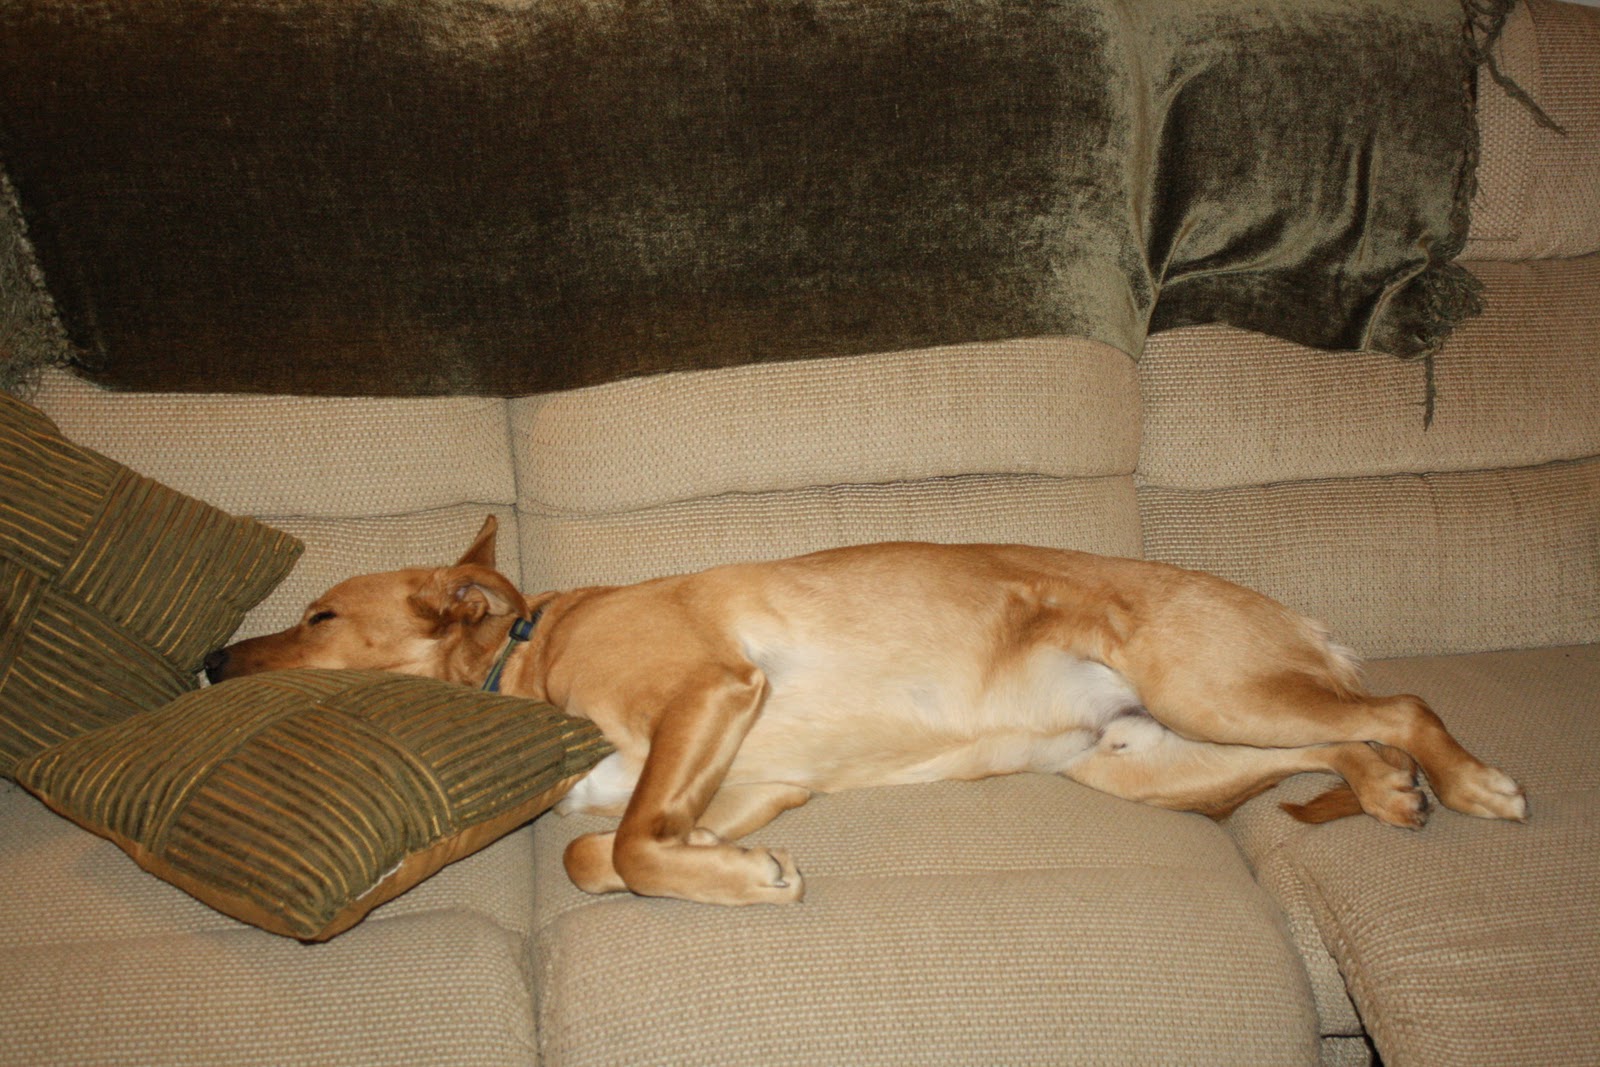
Also, as a warning, you may look like this after consuming too much chili.  Be prepared.


Tuesday, November 1, 2011

Tuesday...Two Day

Anyone know that great quote from Friends?  "Monday, one day.  Tuesday, two day.  Wednesday, what day?  Thursday...it's the third day!"

That quote popped into my head this afternoon when I was thinking about how much I like Tuesdays.  Not sure why it was associated with my Tuesday thought, since it is really about Thursdays, but whatev.  

Back to Tuesdays.  Neither of us have class on Tuesdays, and always make sure we get home from work on time.  We get to cook dinner before 9 p.m., catch up on our inevitably HUGE piles of laundry, and maybe have a glass of wine or two (while watching Glee...and other thought provoking television programming).

Since today happened to be not only a Tuesday, but also the most beautiful fall day of all time, I decided to take my camera on my walk with Dex.  As a side note, I only got a FEW creeped out looks from people who thought I was trying to take pictures of them walking their dogs. Always a positive. 

So for your viewing pleasure, here's a little snapshot of this GORGEOUS Tuesday, two day.


I should have had this fabulous idea yesterday, before they turned off our neighborhood fountains.  One of  my favorite parts about where we live.


Dexter taking it all in.  He is not a huge fan of photo walks, they cramp his style (i.e. he can't pull and drag me all over the place while I'm stopped taking a picture).


LOVE the new Eagle Creek Trail.  No one would ever know its 6 feet from 71st Street.


Sunday, October 30, 2011

Bathroom = DONE

So, one of the reasons we bought our house was because there was not much we had to do to it.  New carpet, fresh neutral paint, ceramic tile in the kitchen and bathrooms.  We're both super busy and did not want our first house to be a fixer-upper.  However, after one of my husband's infamous Rock Band nights I came home to a giant hole in the plaster of our downstairs bathroom and a towel rack on the floor.

Six months and Dave's first drywall job later, we had new fixtures (towel rack, toilet paper holder etc.) but still no fresh paint.  We were hosting a get together for Dave's sister and her friends (because she lives out of state) on the Monday of a long weekend, and on Friday night we decided it DEFINITELY had to be painted by the time they all came over.

We hurriedly went to Lowes, got all the painting supplies we needed and picked out a color we thought would be just a BIT brighter than the very neutral yellow it was currently.  Were we ever wrong.  It turned out to be crayon/mustard/AWFUL yellow - and with the harsh lights in there, it was blinding.  See below.


YIKES.  Also, for reference, this quick paint job took place in the summer of 2010.  We swore to each other we would re-paint the room as soon as we could, and apparently that was not until October of 2011.  Whatev.

Once my Pinterest obsession began, one of the first things I looked for was color palettes for the bathroom that would go with our bronze fixtures (see above) so we didn't need to replace those...again.  I found my inspiration a few weeks ago (image below from here)


And so the process began.  This time, I went to Lowe's for color swatches to put up on the wall BEFORE making a color selection.  I was NOT going to make the same mistake and have to paint the bathroom yet AGAIN.


So, I made a fun swatch wall and Dave and I picked out our faves.  Out of all of those, I ended up getting 4 small color samples, two were blue-ish shades and two were more grey.  Then we painted those on the wall to see what we thought.


I liked the two that were more grey, Dave liked the light blue.  Go figure.  But then, we thought, is this really even close to what these colors are going to look like??? Clearly the base color they were painted on MAY have had an effect on their final color.  

So we went ahead and primed the walls before making our final color choice.  Just so we could make SURE we were not making a color mistake (we were a little scarred from the first time).  Also, after I primed, I changed the light bulbs to a "soft white" version so that any remaining blinding effect would be gone and we could see the colors under the new, final light.


We went with the top left option - the darker of the grey shades we tried.  I thought it would go great with the bronze fixtures (below) and still allow us to use our light blue towels/rug.


However, like I said before, nothing ever comes out exactly like I think it's going to.  Once the room was painted and dry, the paint was much lighter and bluer than expected (even after ALL the testing we did), and the towels we were too close to the wall shade.

Oh well, we like it, and it's MUCH better than the yellow.   

So, here is everything, all painted.  This is before I took the tape off (obviously) which was a whole other fiasco.  Let me add in here that I am the MOST impatient person in the entire world and doing the touch-up painting (after the tape removal) just about killed me.


After the painting came the decorations (my fave part of the project).  My mom is "de-cluttering" to try and put her house on the market, so I came into a few wood shelves, one of which I thought work perfectly over the toilet.  We needed something to fill the space of the huge painting we had in there before.  

It was a light wood color, so to make is usable in the bathroom I just sanded and primed the shelf, and then sanded it again to give it a nice used look.  I LOVE the whole antique white wood thing and I think it came out pretty well. I had Dave help me anchor it into the drywall and then set it up with some mirrors I got at Goodwill ($3...YES) and some frames from T.J. Maxx.  I LOVE how it came out.


I also replaced the candles on the sink with some white roses I had in another room of the house.


I'm not quite happy with the candle side yet, but I'll keep working on that.  

Since our blue towels ended up being too close to the wall color we used a tan rug and towel we had from one of Dave's old apartments (for the time being) but those will be replaced eventually with something a bit nicer, and a bit lighter.


So there you have it!  Much better downstairs bathroom.  My first true completed Pinterest inspired project.  Next projects are closet organization (on my side - Dave happens to be very organized) and built-ins around the fireplace.  

Get excited!  Dexter tried, but he just can't handle it.  All the work on the bathroom really wore him out.