Sounds easy when you think about it right? Just buy some paint, slap it on, and then
boom, nice crib ready for a baby. Nope. Unfortunately, this is not the way it goes people.
Dave and I spent considerable time researching, talking to
people and even checking with our doctor to make sure what was safe for this
next baby room project. There is NO good
site that has all the information in one place, so hopefully thi s tutorial will
help by compiling everything we learned.
Now, we are not experts so please don’t call me if someday something
crazy happens with your baby in their crib that you redid.
When we bought the paint we used for all the furniture, we
made sure, to the best of our knowledge, that it was the safest type of paint
you could buy. That means low odors, low
VOC’s, AND long lasting to minimize chipping.
We ended up with Valspar Signature which is actually paint and primer in one.
It was like painting with chocolate pudding it was so thick. At least that’s what I thought. The people at Lowe’s told us that the
Signature paints hold best and are less likely to flake off.
So we checked with our doctor as well, who said that really
any paints made now are going to be safe enough to use on a crib. She said the only paint issues people really
need to worry about are the lead paint issues in a really old home, or with
really old furniture. So we felt good
about that. Paint problem was solved.
Here's the crib so you can see it's original color!

Then it was on the sealer.
You cannot just paint a crib without some sort of finish to seal
everything because as the baby gets older he or she could start chewing on the
crib, causing the paint to flake and them to ingest it. And, even though paint is relatively “safe”,
we thought we should try to avoid that at all costs, and we also wanted to add
some shine to the finish.
So we did a ton of research on wood and furniture sealers to
find one that would be approved for this type of use. There is not a lot out there people. The first one we settled on was a product
called PolySoy, which had had no toxins and was soy based. When we ordered it, we got an email back from
the manufacturer saying they had stopped making that product because it wasn’t
actually sealing anything. Awesome.
So we found another natural based sealing product and
emailed the manufacturer to ask if we could use their product on a crib. They replied that it would work for that so
we VERY excitedly ordered two test pints of it to use. You can find it here.
Now, the little summary above simplifies the number of
google searching hours we completed looking for these products. First I started searching under crib sealers,
safe lacquers etc. What really seemed to
work were the key terms “natural sealers” or “environmentally safe
sealers”. That is a niche market where
we found all of these products. Most of
them are supposed to be used on a larger scale, to seal wood decks, floors
etc., but the one we ended up with had furniture listed as a use as well.
To actually paint the crib, I would recommend painting it as
assembled as possible. Our little garage
workshop was getting dusty, and since we have a lovely furry dog, we were
finding as we painted each piece on the drop cloth, a lot of particles and fur
were getting mixed in with the paint.
So, we assembled the crib for the second coat.
NOTE: make sure the crib can fit through any
doors/openings you need to get it through.
We had to end up taking off the front panel to get it through the
nursery door. Which luckily was not too
big of a deal, but if you had to take more than that apart it could be a
problem.
Painting in process!

So we painted two or so coats on the crib with it
assembled. This means that yes, I had to
sit inside the crib to get the inner bars.
That was fun. Make sure you have
something soft to sit on in there. We let it dry for a week or so before we went
to put the sealer on. I also got new,
varnish brushes to use for the sealer.
It had a very low odor, so Dave and I could both do it at
the same time, which went much faster than just one of us doing it. It also only takes 40 minutes to dry between
coats, so we did both coats in one night.
When applying the sealer, we learned not to let it get it
too thin. Really sweep it on there. When it got too thin, it would start to grab
on and pull off the paint. It looks
white when it’s wet, but dries totally clear.
Just make sure there are no big pools of globs of sealer. Those do NOT dry clear.
Here you can see a bit of the shine the sealer adds.

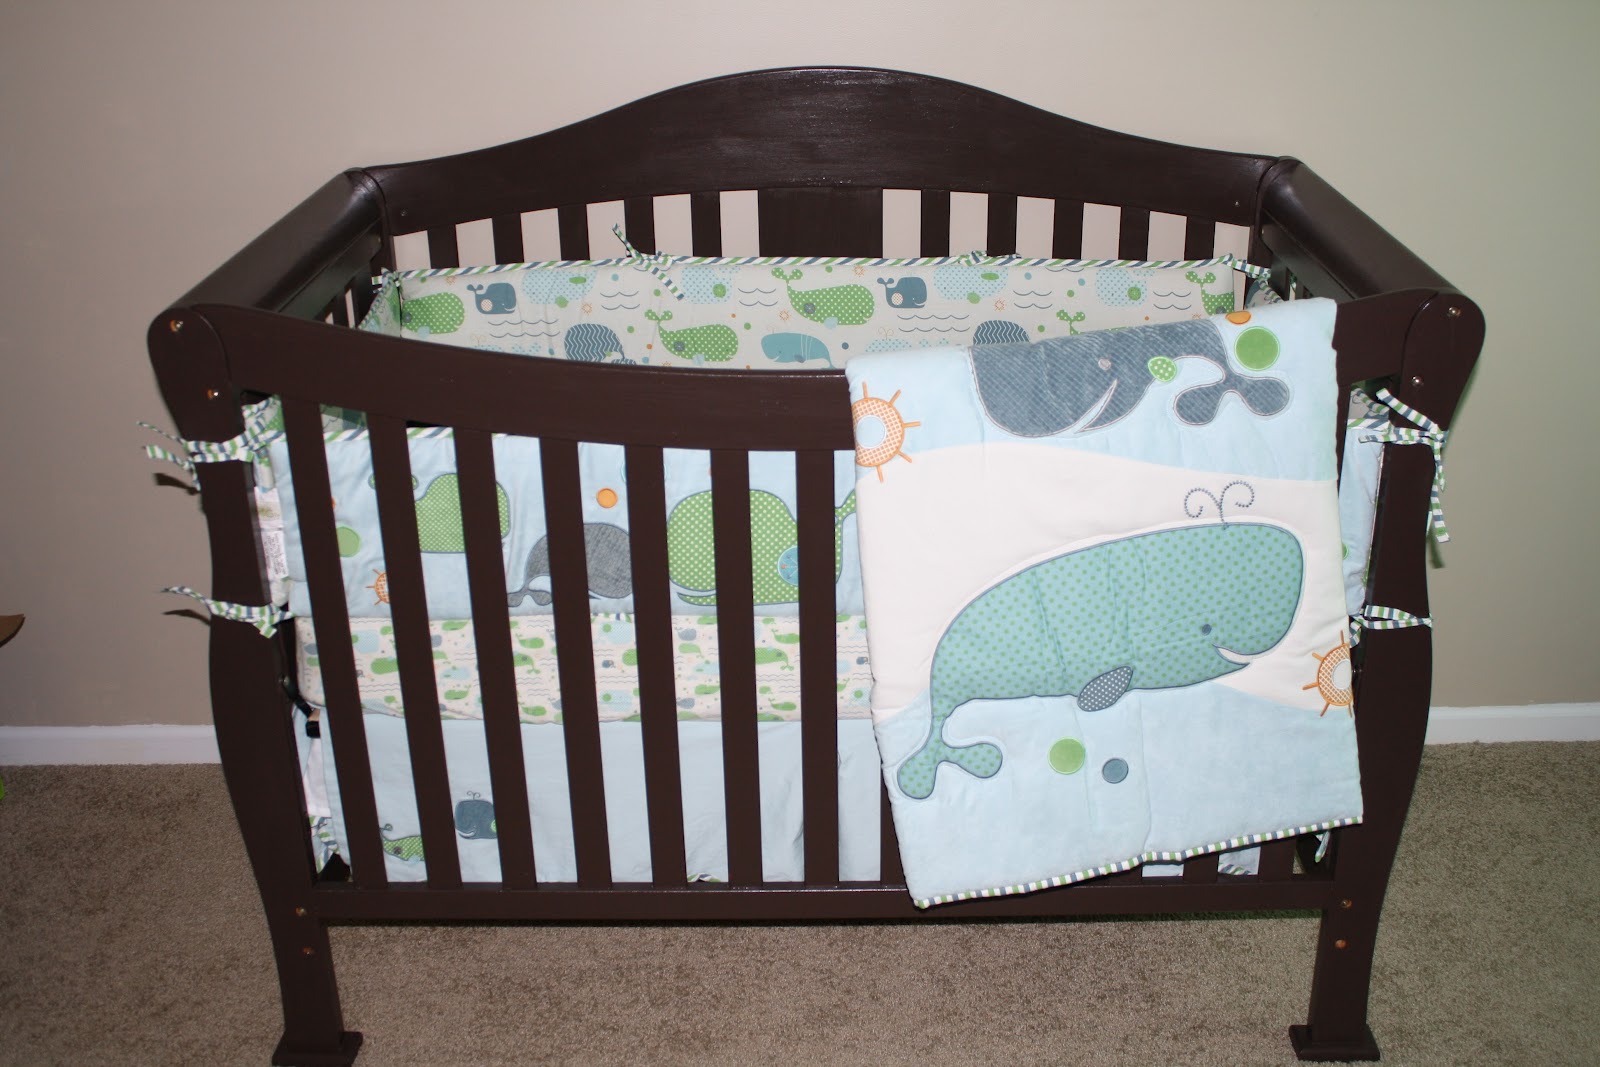
So here is the crib, safe as can be in the room, and with bedding! Hope at least the sealer product info is
helpful!