Not sure if you all have noticed, but having a baby can be
incredibly expensive. There are so many
options out there when it comes to cribs, strollers, bedding, changing tables,
bottle warmers, etc. I could go on for
days, but you get the idea. Some of
these big ticket items in particular are not very nice to one’s budget. And, personally, I would rather drop a grand
on some sort of tropical vacation with fruity drinks than on a stroller and car
seat (no offense intended Baby Yar).
This, my friends, is why my husband and I have been trying
to come up with any and all ideas to get this baby here for a reasonable price. And, because I love to share (and over
share), I will pass what we come up with along to all of you, just in case
there is anyone else out there attempting to still have a balance in their
savings account after the birth of their child.
We started by thinking about the nursery, clearly an easy
place to start. Luckily, our extra
bedroom is currently painted a very light brown, which is the color it will
stay for multiple reasons. One, to save
money and time on repainting. Two, we
will probably put our house on the market within the next few years and didn’t
want to create a unique nursery specific color palette and/or design that we
would have to re-paint eventually for resale value. Three, we may have more than one kid in that
room at some point and brown is nice neutral color that goes easily with any
other color. Which conveniently leads me
to my next point, go gender neutral.
Now, I never thought I would be a gender neutral person
(pink or blue all the way!), but thanks to my loving, rational husband, I
realized the actual genius behind this idea.
Now, I clearly am not the first or the only person to realize this,
since there is currently a great market for gender neutral baby products. But, for our situation it makes SO much
sense, budget and space wise.
So, because I felt the need to start working on the room immediately, I made a pin board of nurseries that I liked and
shared them with Dave. We both were
leaning towards nurseries that used blues and greens, with some yellow and/or
orange accents (what boy OR girl wouldn’t love those colors?). So, then I made a trip to JoAnne Fabric (they
will cut you an inch of fabric for free!) to grab a few samples of
colors/patterns that I liked to run by Dave for male approval.
We narrowed down our color scheme and then I started
browsing online to find other patterns that may work for curtains (my initial
DIY project). Curtains can be crazy
expensive, and it can be hard to find exactly what you want. So I thought hey, those can’t be too tough to
throw together, let’s do that. Luckily I
was right.
In my online browsing, I found several very cool fabric
websites (Fabric Worm and Contemporary Cloth were two of my faves) both of
which had great patterns at fairly reasonable prices. But, in the end, I found the fabric we went
with a good old JoAnne’s. They were
having a 40% off sale on all of their cotton fabrics, yay, and I found a great
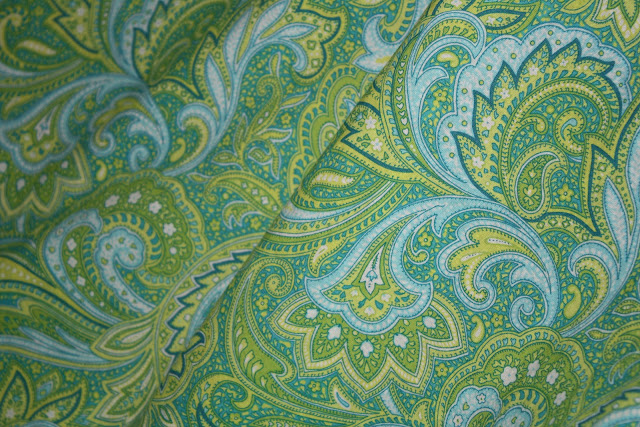
green/blue/yellow paisley pattern that I LOVED.
And hoped Dave would also. So, I
bought six yards (two separate 3 yard panels) for $19.50 total. Awesome.
So this past Sunday, I spent 5 or so hours at my mom’s (who
generously donated her ironing board, sewing machine, thread AND sewing
expertise to help with the cause) making curtains. It really was a fairly simple process. I found a great tutorial here that I
referenced before I went over, just so I had some idea of what I was
doing. We followed it pretty closely, but let me know if you have any questions!
We used the same curtain rod we had already up in the room - so when we finished I just had to hang them! I think they look pretty good!
Stayed tuned for more DIY projects. Painting baby furniture is next on the list!


Nice!
ReplyDelete